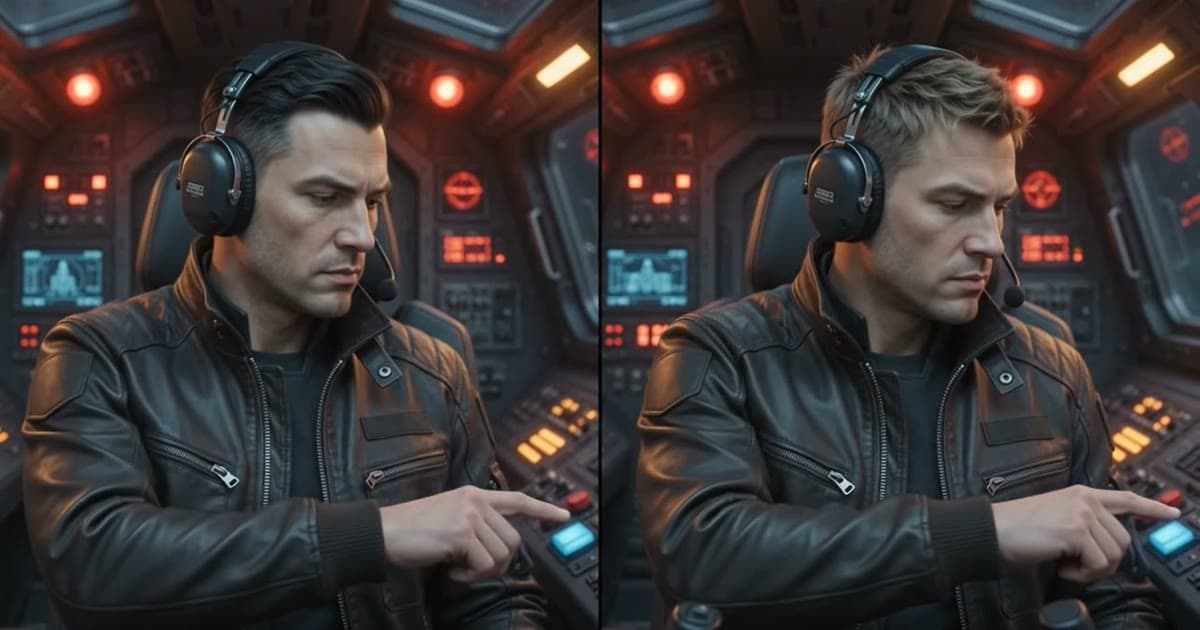
How to Face Swap a Video Locally on Mac or Windows
Face swap a video on your own computer with VisoMaster Studio: add a reference photo, map it to a face, check masks and restoration, then export.
To face swap a video locally, you need a desktop app that runs the face swap models on your own computer. In VisoMaster Studio you add the video, add a reference photo of the face you want, map that face to a person in the video, check the preview and export. The video and photos stay on your machine; the network is only used to download models.
This guide uses VisoMaster Studio 0.3.0. The app's interface text is currently in Chinese, so the steps below describe each action rather than quoting button names.
What "local" means here
VisoMaster Studio decodes the video, runs detection, swapping and restoration, and encodes the result on your computer. Your media is not uploaded. The only network traffic is model downloads: on first launch the app fetches a base set of about 469 MB from each model's official source, with resume and SHA-256 checks. Other models download the first time a feature needs them (the full set is about 19 GB). Each model keeps its own license.
The swap models in Studio work from a reference photo. You do not first train a model on images of the two specific faces, which is the workflow of DeepFaceLab (its GitHub repository is now archived).
What you need
The installers include the Python runtime and FFmpeg, so there is no Python, Conda, Git or CUDA toolkit to set up.
- Mac with Apple Silicon: macOS 14 or later, signed and notarized DMG. Processing uses CoreML (Neural Engine and GPU) or the CPU.
- Mac with Intel (preview): macOS 14 or later, notarized DMG, CPU processing.
- Windows 10/11, CPU (preview): MSI installer, not code-signed yet, so SmartScreen asks you to confirm.
- Windows with an NVIDIA GPU (preview): portable 7z package that uses CUDA. It needs an NVIDIA driver that supports CUDA 13 (version 580 or later).
"Preview" means the build is made and checked automatically but has not yet been tested widely on that hardware. Models and settings live in your user app-data folder, separate from the app, so upgrades keep them. The installation guide covers each platform, and VisoMaster on Mac goes into the Mac builds.
Step 1: Add the video and a reference photo
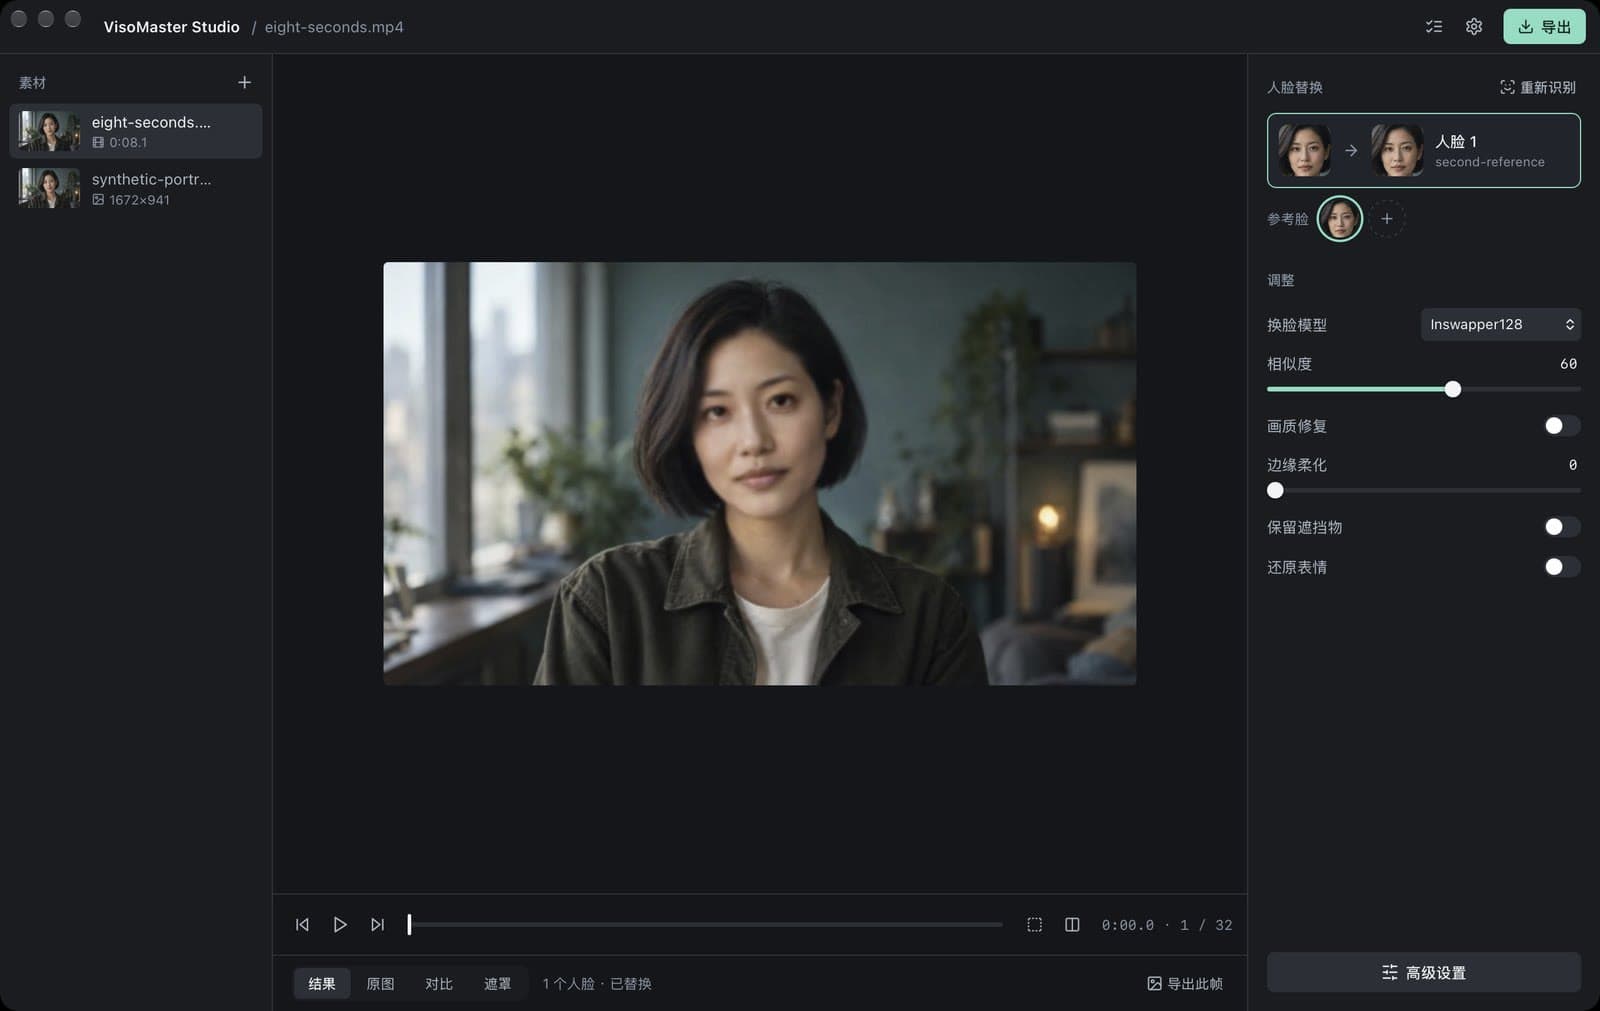
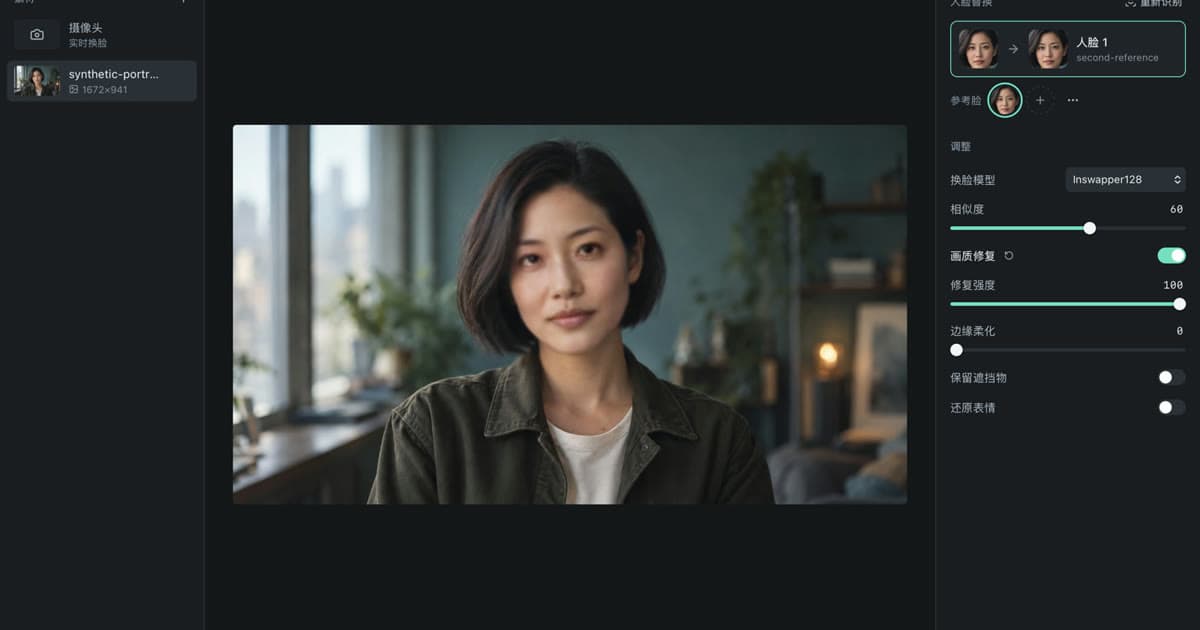
The window has three areas: your media list on the left, the preview in the centre, and the faces and everyday adjustments on the right.
- Add the target video to the media list (drag it in or use the add button).
- Add a reference photo of the face you want to place in the video. A photo where the face is clear and unobstructed gives the recognition model a clean embedding to work from.
- Select the video. Studio detects the faces in the current frame and shows each one as a target face.
If a person is not visible in that frame, move the playhead to a frame where they are and run detection again. Faces that are already in the list are recognised by similarity and are not added twice.
You can add several photos of the same person. Studio merges their face embeddings into one, either by mean or median; the merge method is in Advanced settings.
Step 2: Map the reference face
Click a target face, then click the reference photo you want to use for it. If there is exactly one target face and one reference photo, Studio maps them automatically. Faces you do not map are left as they are. For scenes with more than one person, see how to swap multiple faces in a video.
The swap replaces the inner face. Hair, head shape and the rest of the frame come from the original video.
Step 3: The six everyday adjustments
The right-hand panel shows six adjustments for the selected face:
- Swap model. Inswapper128 is the default. The others are AlphaFace, InStyleSwapper256 versions A, B and C, SimSwap512, GhostFace v1, v2 and v3, CSCS, and DeepFaceLive (DFM) models you import yourself. Each swapper uses its own face recognition model, and Studio computes the matching embedding for your reference photo automatically.
- Similarity threshold. How closely a face in a frame must match the target face before it is swapped. The default is 60 on a 1 to 100 scale.
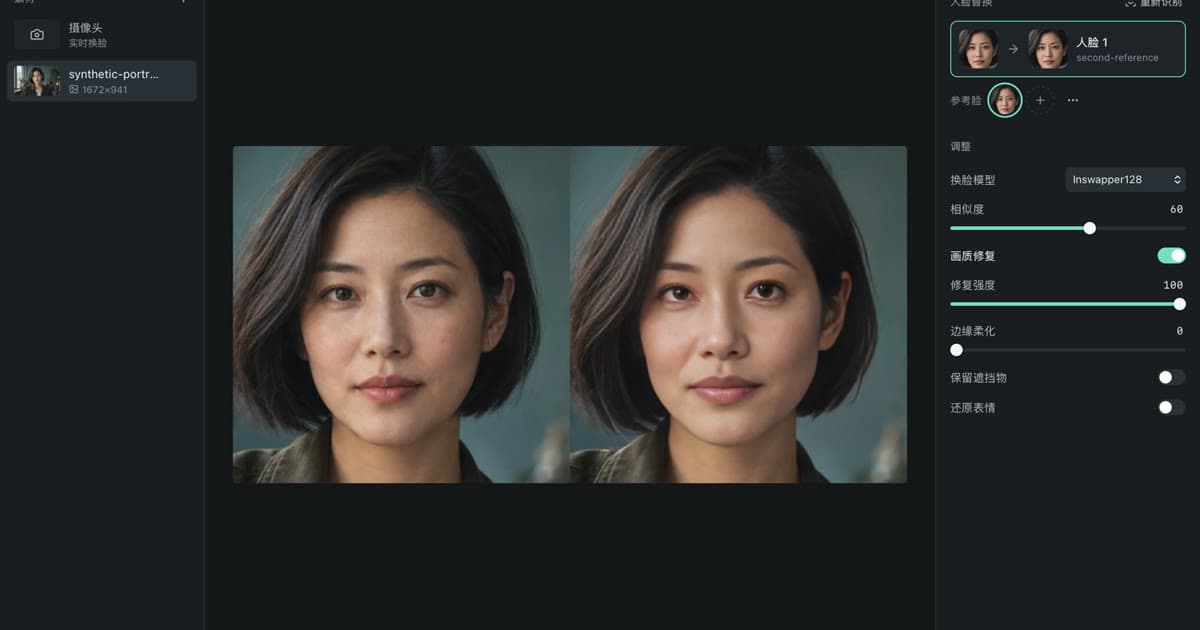
- Face restoration, on or off, with a strength setting that blends the restored face with the swapped face.
- Mask edge softness, the blending distance of the combined masks (the border mask has its own blur settings).
- Keep occluders, the occlusion mask described below.
- Restore expression, a LivePortrait-based expression restore.
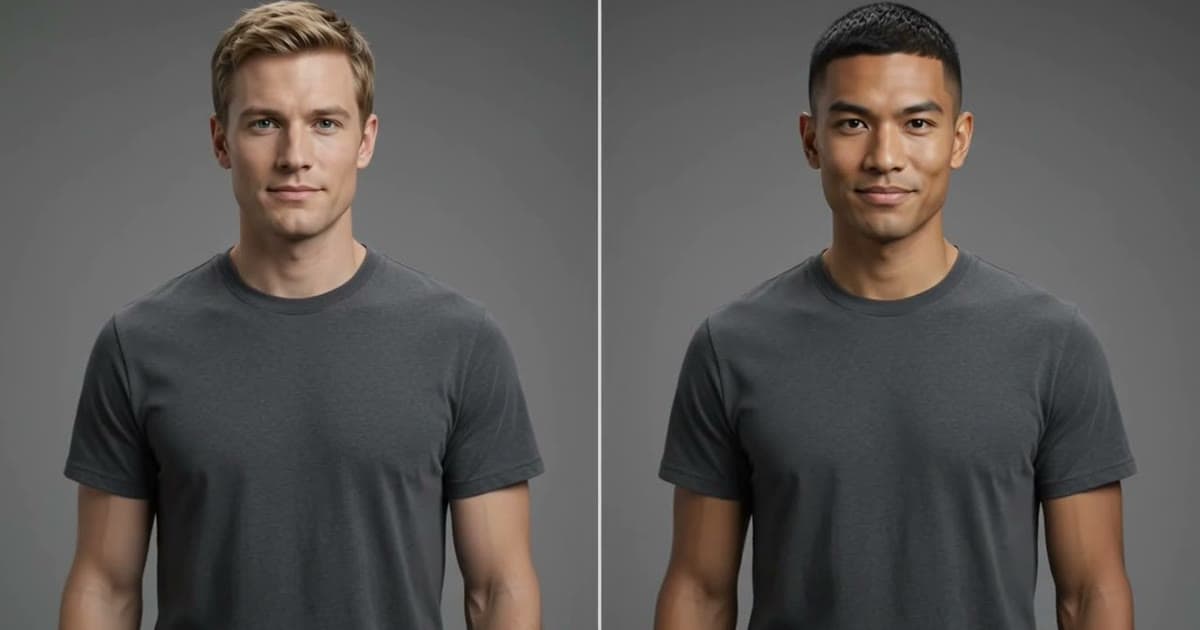
The image above shows the same target and reference through each swapper. Results depend on the footage, so compare them on your own clip rather than relying on a fixed ranking. Face swap models compared looks at each model in more detail, and DeepFaceLive DFM models explains the per-identity .dfm format.
Step 4: Restoration and upscaling
Turning on face restoration sharpens the swapped face. Which restorer it uses is set in Advanced settings: GFPGAN v1.4 (the default), GFPGAN 1024, CodeFormer, GPEN 256, 512, 1024 or 2048, RestoreFormer++ or VQFR v2. A second restorer can be added after the first. GFPGAN vs CodeFormer vs GPEN compares them.
Restorers work on the face only. Whole-frame upscalers (Real-ESRGAN x2 and x4 Plus, RealESR General x4v3, BSRGAN x2 and x4, UltraSharp x4, UltraMix x4) and colourisation models (DDColor, DeOldify) are separate, also in Advanced settings.
Step 5: Masks for hands, glasses and hair
When something passes in front of the face, the swapped face can be drawn over it. Studio has several masks for this, each set per face in Advanced settings:
- Occlusion mask. Lets objects that cover the face, such as a hand or a cup, show through from the original frame. A size control grows or shrinks the occluded area.
- XSeg mask. A DeepFaceLab XSeg segmentation model used for the same purpose. It has an option to stop an open mouth from being treated as an obstacle.
- Face parser. Splits the face into regions (background, face, eyebrows, eyes, glasses, nose, mouth, lips, neck, hair) so you can let chosen regions of the original show through.
- Text mask (CLIP). Type words such as "glasses", separated by commas, and the matching objects are kept from the original frame.
- Border mask. A rectangle with adjustable top, bottom, left and right edges that blends the swapped face back into the frame.
- Profile angle mask. Fades the far side of the face when the head is turned.
You can also restore the original eyes or mouth. To see what a mask covers, switch the preview from the result to the mask view.
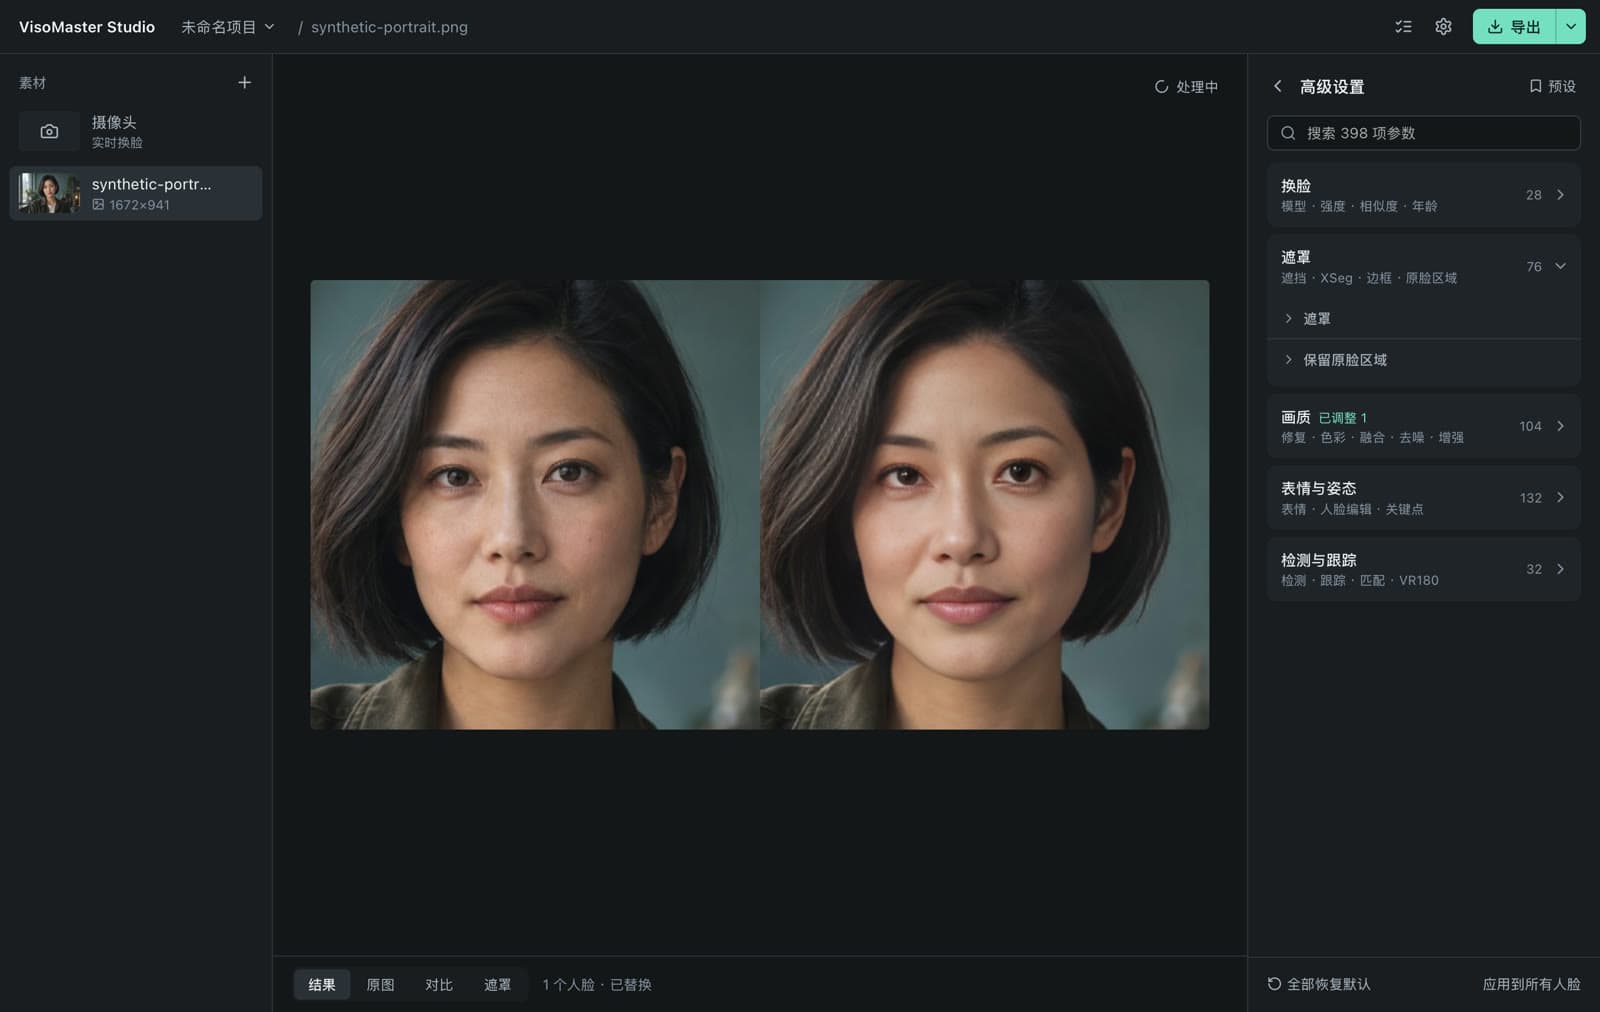
Advanced settings hold all 427 VisoMaster Fusion parameters, grouped and searchable, and you can save combinations as presets.
Step 6: Check, mark and export
- Scrub through the clip and switch between the result, the original and the compare view.
- Where the footage changes, for example a hand crosses the face partway through, add a parameter marker. A marker stores the settings at that frame, and they apply from there until the next marker, both in the preview and in the export.
- Run the issue scan. It goes through the video and lists frames where a mapped face was lost or did not match, and you can jump from one flagged frame to the next.
- Export the whole clip, a range, or several segments joined into one file. The original audio is kept. Exports run as jobs in a list that you can cancel, and you can export every item in the media list in one batch.
Other local options
FaceFusion also runs locally. It uses a browser interface or the command line and supports more hardware back ends, including AMD and Intel GPUs. VisoMaster vs FaceFusion compares the two in detail.
Consent and acceptable use
Only swap faces you have the right to use: your own, or those of people who have given you explicit permission. Label synthetic media as such and follow the law where you live. The rules for VisoMaster Studio are in the acceptable use policy.
FAQ
Are my videos or photos uploaded?
No. All processing runs on your computer. The app connects to the internet only to download models from their official sources.
Does the swap change hair or head shape?
No. A face swap replaces the inner face. Hair, head shape and everything outside the face come from the original video.
What can I do if the face is missed in some frames?
Run the issue scan to find those frames. Detection settings are in Advanced settings: the detector model (RetinaFace, SCRFD, YOLOv8 or YuNet), the detection score, optional ByteTrack face tracking, and keypoint smoothing, which reduces jitter. Check the result in the preview after each change.
Do I need Python, Git or a CUDA toolkit?
No. The installers include the Python runtime and FFmpeg. On Windows with an NVIDIA GPU you only need a driver that supports CUDA 13.
Download VisoMaster Studio for Mac or Windows at visomaster.studio/download.
Author

Categories
More Posts
What Is VisoMaster Fusion? VisoMaster, Fusion and Studio
VisoMaster Fusion explained: how it grew from the original VisoMaster, what it adds, and how VisoMaster Studio packages it for Mac and Windows.
GFPGAN vs CodeFormer vs GPEN: Face Restorers Compared
GFPGAN, CodeFormer, GPEN, RestoreFormer++ and VQFR compared: who made them, input sizes, fidelity controls, licenses and settings in VisoMaster Studio.
Face Swap Models Compared: Inswapper, SimSwap, Ghost
Inswapper, SimSwap, GhostFace, CSCS, AlphaFace and InStyleSwapper compared: input size, recognition model, license and options in VisoMaster Studio.