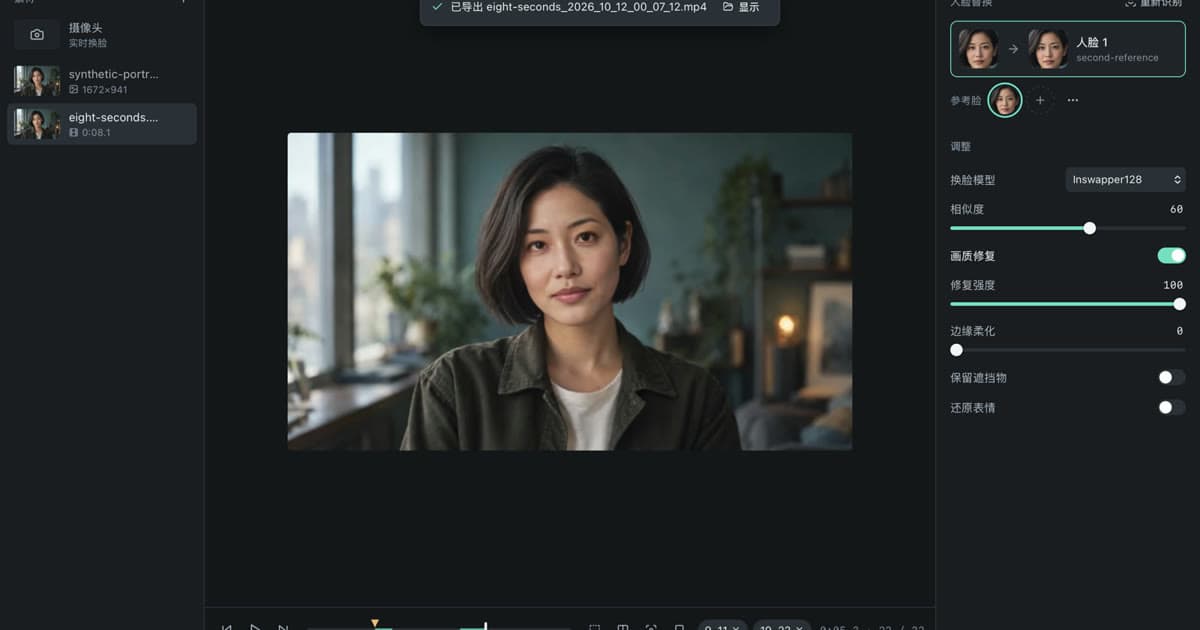
How to Swap Multiple Faces in a Video, Step by Step
Swap several faces in one video with VisoMaster Studio: map a reference to each person, give each face its own settings and leave the others alone.
To swap multiple faces in a video, you need a tool that keeps each person separate: one target face per person, each mapped to its own reference face. In VisoMaster Studio every detected face gets its own reference and its own settings, and faces you do not map are left unchanged, so you can replace two people in a scene and keep a third as they are, in a single export.
This guide uses VisoMaster Studio 0.3.0 and assumes you know the single-face workflow from how to face swap a video locally. The interface text is currently in Chinese, so the steps describe actions rather than quoting button names.
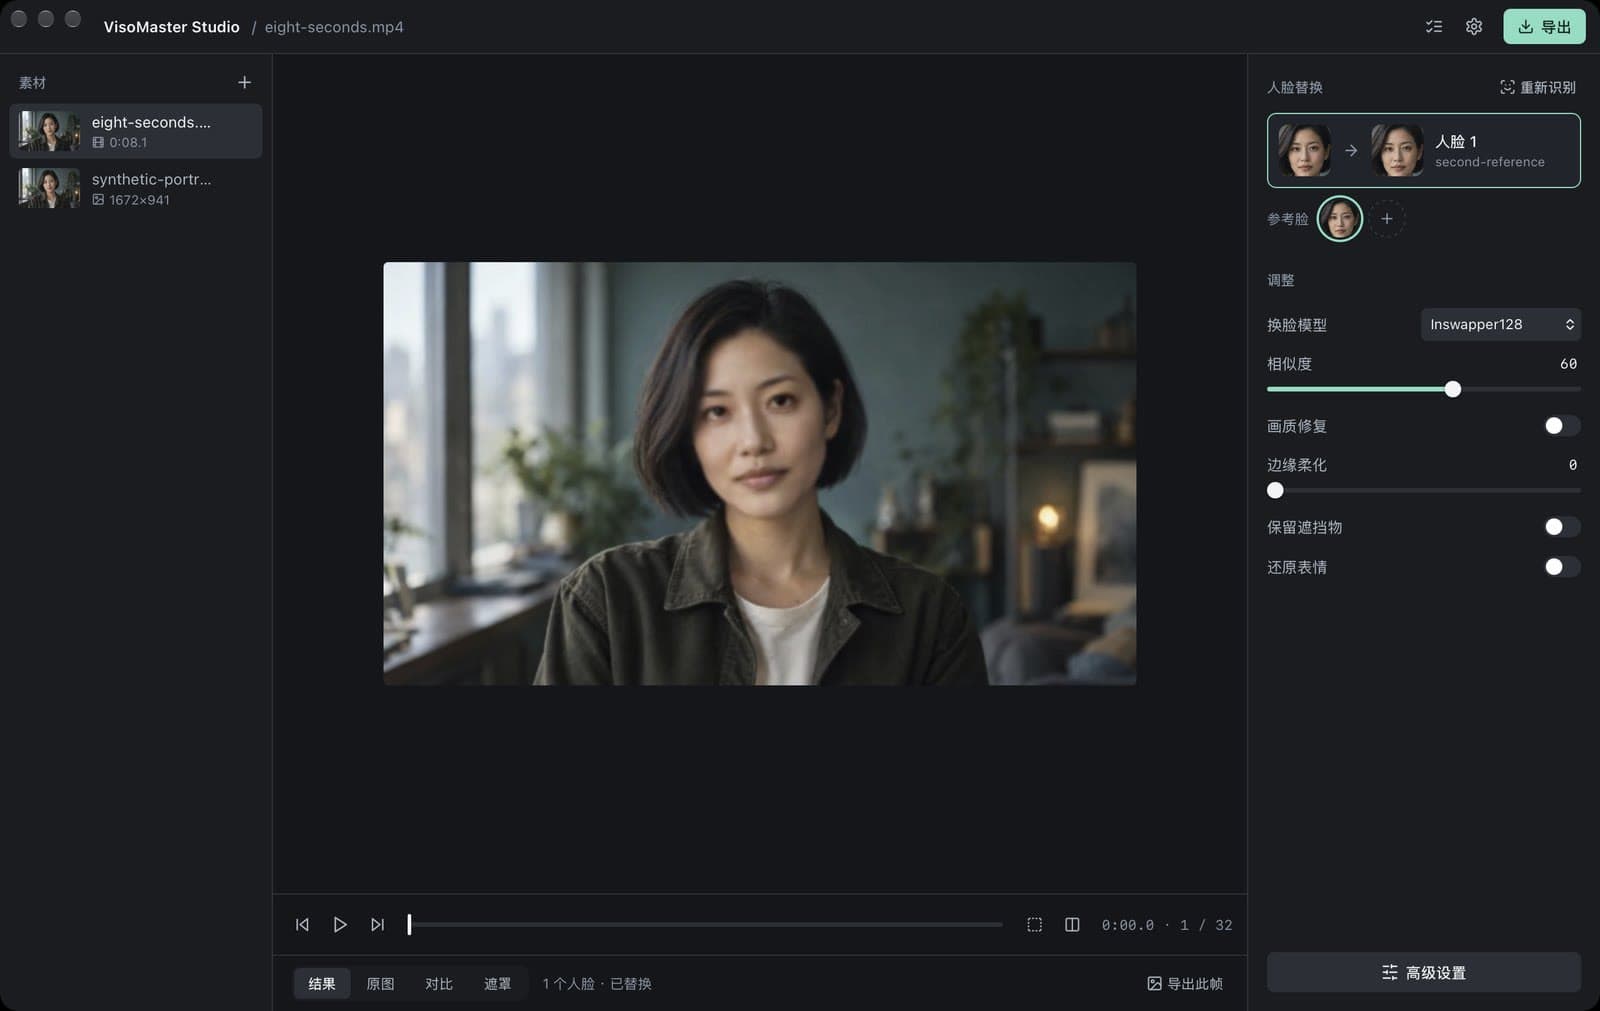
How Studio tells people apart
It helps to know how matching works before you start, because it explains most multi-face problems.
When you detect faces, Studio stores each new face as a target face together with its face embedding, a numeric description of the face produced by a recognition model. While playing or exporting, Studio detects every face in each frame and compares it with all target faces. A face is swapped with the reference mapped to the target face it resembles most, provided the similarity reaches that target face's similarity threshold (default 60 on a 1 to 100 scale). A face that matches no target face, or matches one with no reference mapped, is left as it is.
So people are identified by what their face looks like, not by their position in the frame. Two people walking past each other keep their own swaps as long as their faces are recognisably different. Problems usually appear when two people look alike, or when a face is turned away, blurred or small enough that it falls below the threshold.
Step 1: Detect everyone you want to change
- Add the video to the media list and select it. Studio detects the faces in the current frame.
- If someone is not visible in that frame, move the playhead to a frame where they are and run detection again. Faces already in the list are recognised by similarity and are not added a second time.
- Remove any target face you do not need. Leaving it in the list unmapped also works; it simply is not swapped.
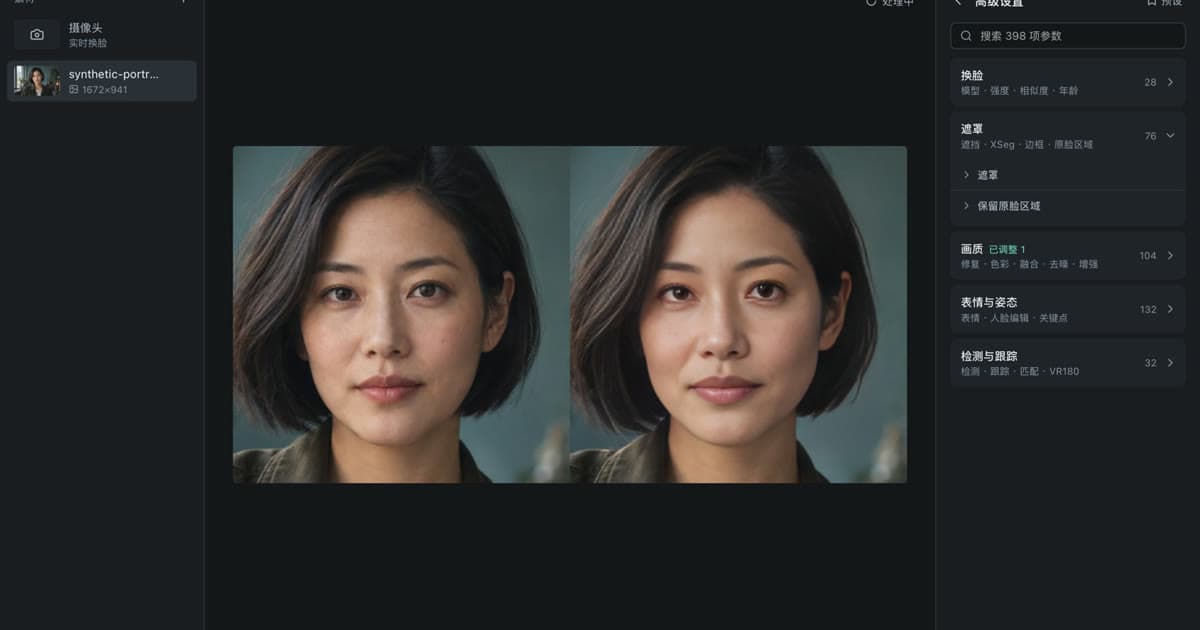
Detection settings are global and live in Advanced settings: the detector model (RetinaFace, SCRFD, YOLOv8 or YuNet), the detection score and the maximum number of faces to detect per frame (20 by default).
Step 2: Add reference faces and map them
- Add a reference photo for each new identity.
- Click the first target face, then click the reference photo to use for it. Repeat for each person you want to change.
- Leave bystanders unmapped.
Studio maps automatically only when there is exactly one target face and one reference photo. With several people, you decide each mapping.
Several photos of one person. You can map more than one reference photo to the same target face. Studio combines their embeddings into one, by mean or by median (the merge method is in Advanced settings; the help text describes median as more robust to outliers), and normalises the result. You can also merge a set of reference photos into a named face once and reuse it.
Face library. Merged faces can be saved and loaded later. Studio reads and writes the VisoMaster JSON format and the Rope text format, so embeddings made in those apps can be loaded too.
Step 3: Give each face its own settings
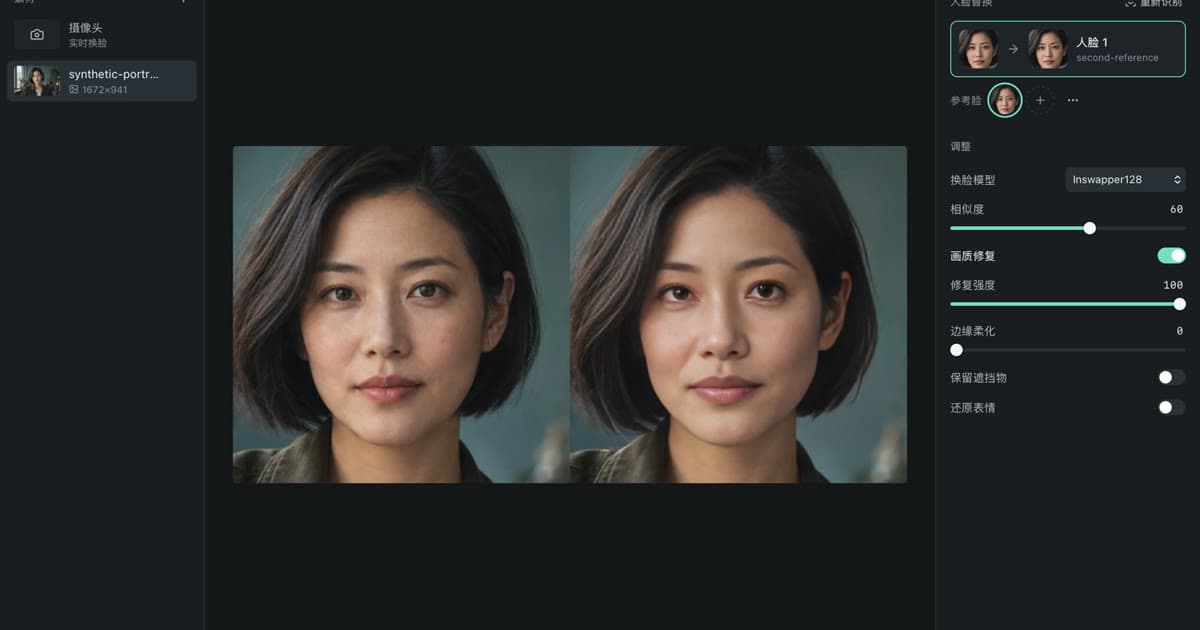
Settings in VisoMaster Studio are stored per target face. Select a face and the six adjustments on the right apply to that face only:
- swap model
- similarity threshold
- face restoration on or off, with strength
- mask edge softness
- keep occluders (occlusion mask)
- restore expression
The same is true for the per-face groups in Advanced settings: masks, colour and texture transfer, restorer model, expression restore, face editor and re-aging. One person can use Inswapper128 with restoration on while another uses a different swapper with restoration off. Face swap models compared describes the swappers.
When you want the same settings everywhere, apply the selected face's settings to all faces, then adjust only where the faces differ. You can also reset a face to defaults, or save a combination as a preset.
Step 4: Masks where people overlap
In group scenes a hand, a glass or another person's head can pass in front of a face. Masks are per face, so you can turn them on only for the person who needs them:
- Occlusion mask: lets objects covering the face show through from the original frame.
- XSeg mask: a DeepFaceLab XSeg segmentation model for the same job, with an option to keep an open mouth from being masked out.
- Face parser: lets chosen regions of the original (for example hair, glasses or neck) show through.
- Text mask (CLIP): type words such as "glasses" or "microphone" to keep those objects from the original.
Switch the preview to the mask view to see what each mask covers.
Step 5: Markers for scenes that change
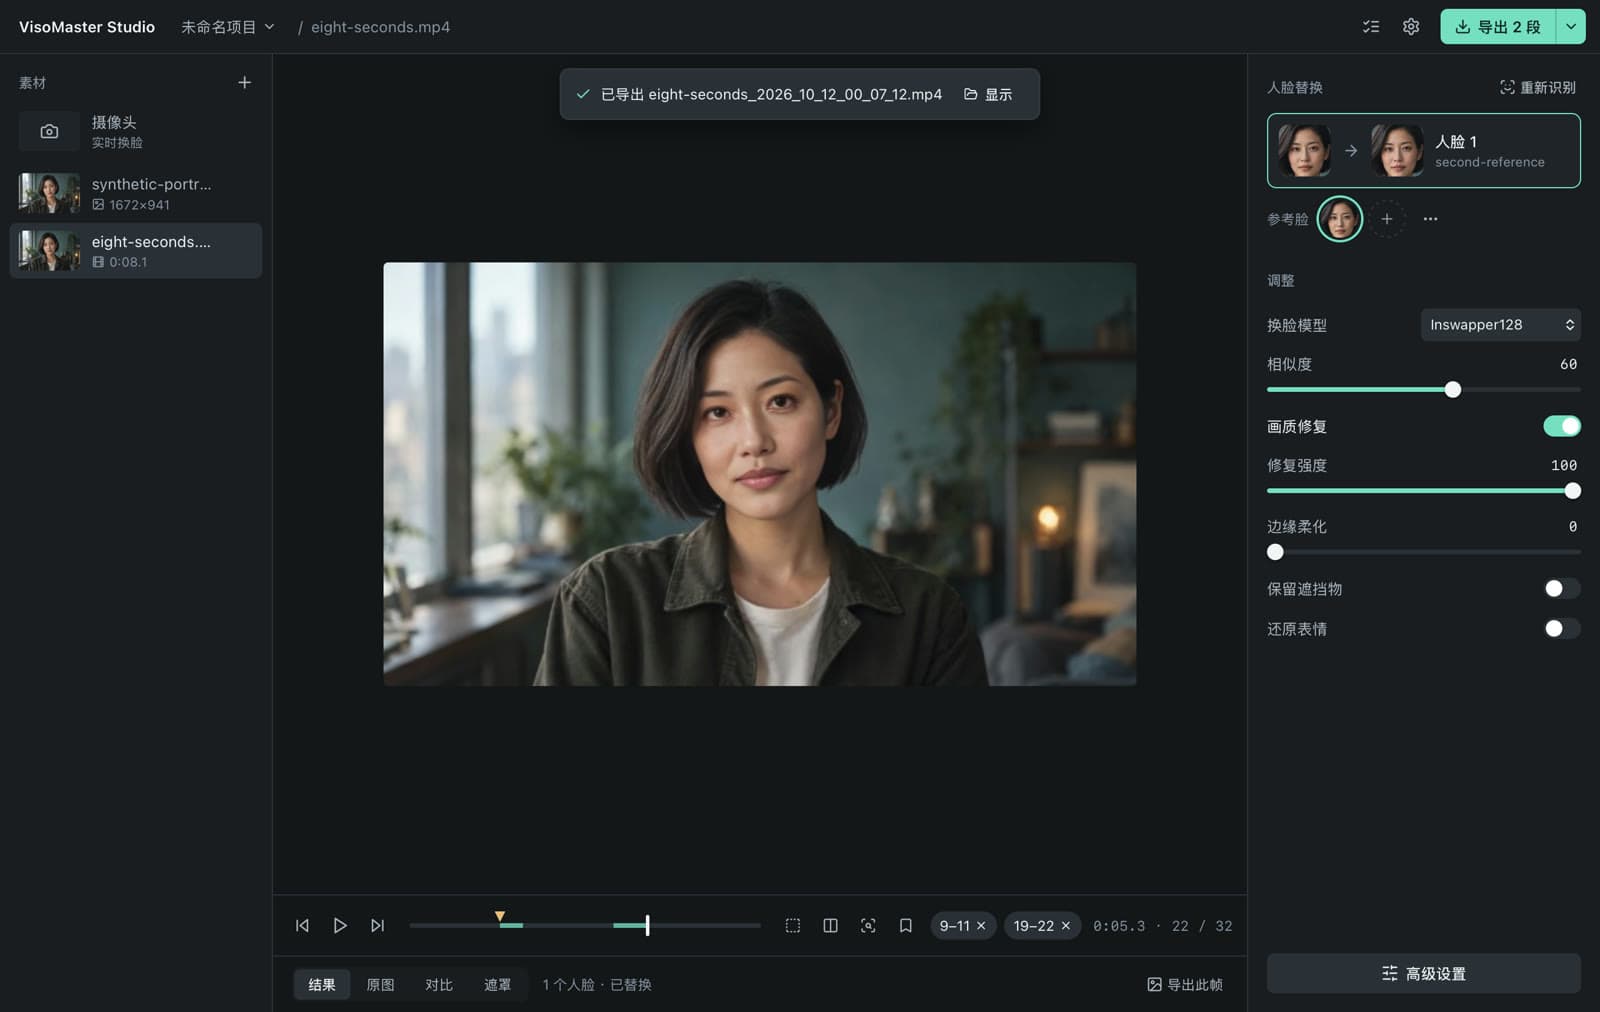
A parameter marker saves the settings of every face, plus the global settings, at a given frame. From that frame until the next marker, the saved settings are used in the preview and in the export. Use markers when the scene changes partway through: someone walks into shadow, a hand crosses a face, or one person needs a stronger mask for a few seconds. Remove a marker to fall back to the previous one.
You can also export several segments, frame ranges that are joined into one file with the original audio cut to match.
Step 6: Scan for missed and mismatched frames
Run the issue scan before exporting. It goes through the video (or only your segments) using the current detection and similarity settings and lists frames where a mapped face was lost or did not match. You can jump between flagged frames to check them.
If the scan flags many frames for one person, options to try are:
- lower that face's similarity threshold if the person is missed, or raise it if a second person is being swapped with their reference
- turn on the option that swaps each reference only onto the single best-matching face in a frame, useful when two people look alike
- turn on ByteTrack face tracking, which keeps face identities across frames
- add a second reference photo of that person taken from another angle
Rescan after each change and check the preview.
Step 7: Compare and export
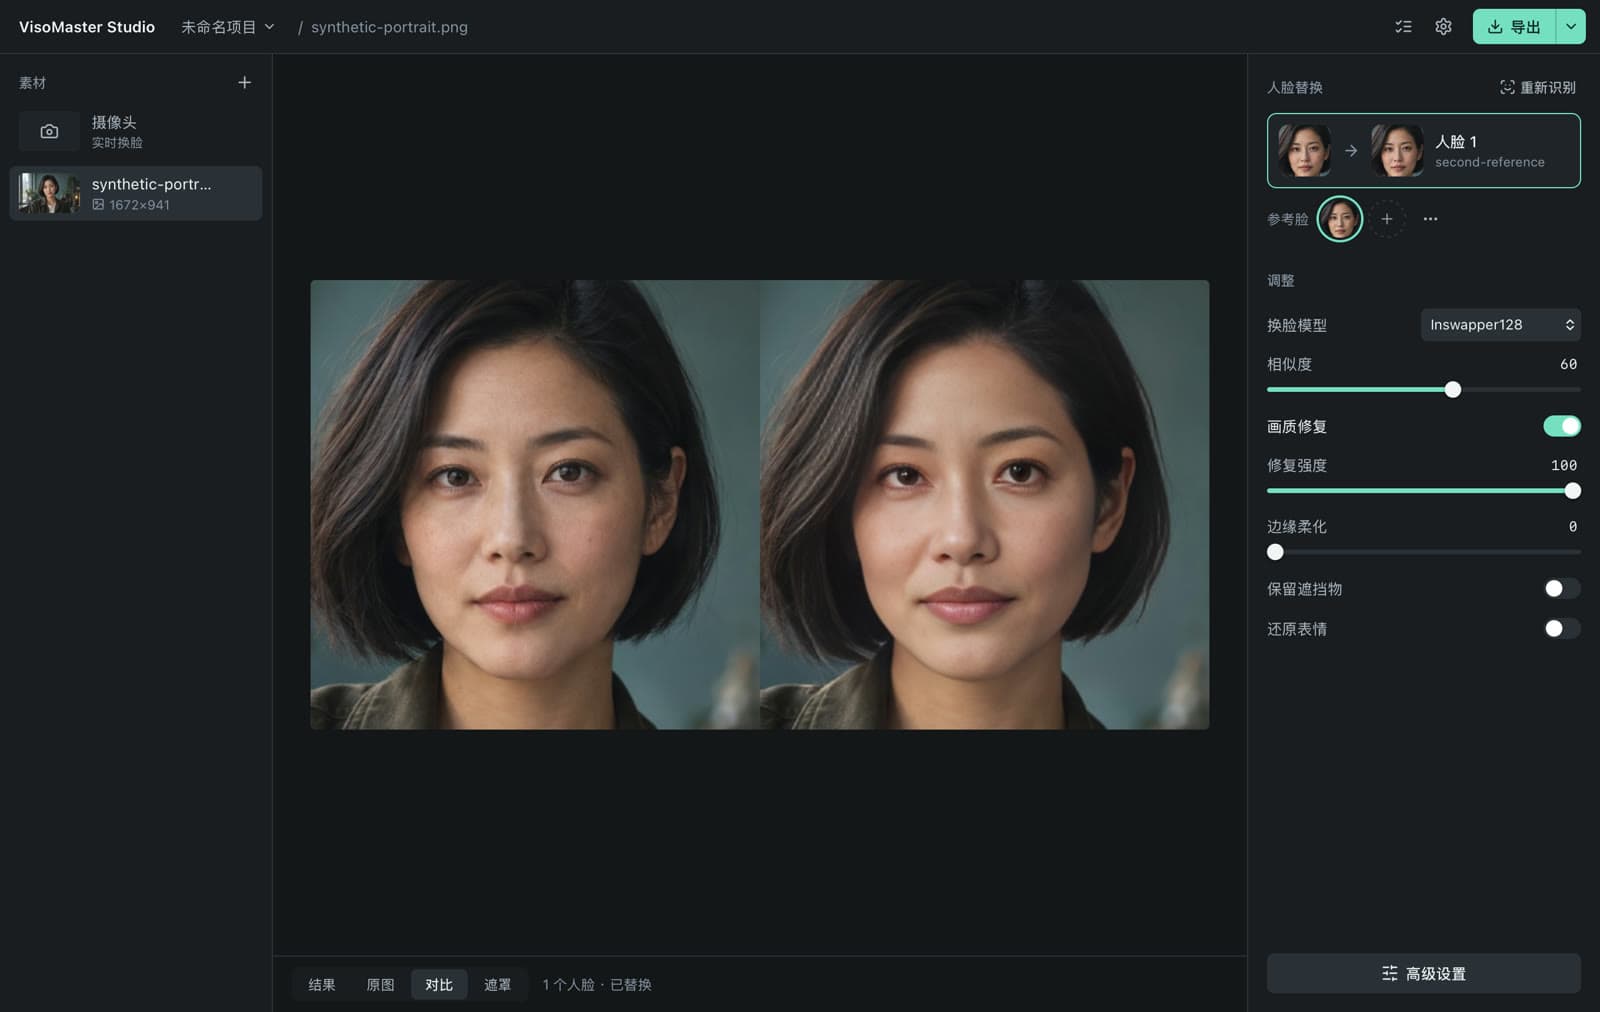
Switch between the result, the original and the compare view while scrubbing through the clip. Then export the whole clip, a range or your joined segments. Exports run as jobs you can cancel. Save the project to keep the mappings, settings and markers; Studio uses the VisoMaster Fusion workspace format, so the project also opens in Fusion. VisoMaster Fusion explained covers how Studio relates to Fusion.
How this compares with FaceFusion
In FaceFusion 3.9.1, one run uses one source identity, averaged from the source images you give it. Its face selector applies that identity to many faces, one face, or the faces that match a reference face. To give two people two different identities, you run it twice. In VisoMaster Studio each target face has its own reference and settings, so both swaps happen in one export. FaceFusion has other strengths, including lip sync and wider GPU support; see VisoMaster vs FaceFusion.
Consent and acceptable use
A group video involves more people, and you need permission from each person whose face you use or replace. Label synthetic media as such and follow the law where you live. The rules for VisoMaster Studio are in the acceptable use policy.
FAQ
Can I swap two people and leave a third unchanged?
Yes. Only target faces with a mapped reference are swapped. A face that is unmapped, or that matches no target face, stays as it is in the original.
Two people in my video look alike and their swaps mix up. What can I do?
Raise the similarity threshold of the affected faces, turn on the option that swaps each reference onto only the best-matching face per frame, and run the issue scan to find the frames that are still wrong. Parameter markers let you use different settings for the part of the clip where it happens.
Someone appears only later in the video. How do I add them?
Move the playhead to a frame where they are visible and run detection again. The new face is added as another target face; faces already in the list are not duplicated.
Can I reuse a person's face in another project?
Yes. Merge their reference photos into a named face and save it to the face library. You can load it in later projects, and Studio also reads VisoMaster JSON and Rope text embeddings.
Download VisoMaster Studio for Mac or Windows at visomaster.studio/download.
Author

Categories
More Posts
What Is VisoMaster Fusion? VisoMaster, Fusion and Studio
VisoMaster Fusion explained: how it grew from the original VisoMaster, what it adds, and how VisoMaster Studio packages it for Mac and Windows.
VisoMaster vs Rope Pearl: How the Rope Lineage Evolved
Rope Pearl vs VisoMaster Studio: where Rope came from, what VisoMaster and Fusion changed, and which Rope habits and files still carry over today.
How to Face Swap a Video Locally on Mac or Windows
Face swap a video on your own computer with VisoMaster Studio: add a reference photo, map it to a face, check masks and restoration, then export.